How to make a Clay Oven

Clay ovens are traditionally made of fine clay mixed with grain husks and animal hair, and have an egg-shaped design called a tandoor.

The oven’s heat source is lit at the bottom, and the heat rises halfway through the oven to the top, or mouth, where food is placed.

Cooking food in a clay oven imparts flavors and aromas to the dish.

The high, rapid heat of the clay oven makes meat and fish tender and juicy.

Tandoors can be either placed in the ground or built into stainless steel cabinets used in restaurants.

Tandoors are often not visible to customers in enclosed restaurant kitchens, but some restaurants have them on display.

Expert tandooria chefs can use stainless steel skewers to skillfully remove hot tandoori naan and barbeque from the oven.

Read More about where to get kitchen tools. :- Henri-Luc’s recipes

Origin of Clay Oven

  • The origin of the clay oven is not from India but from Persia (present-day Iran).
  • The clay oven migrated from Persia to various parts of Asia and eventually to Northern India.
  • Initially, the clay oven was used for making naan bread, which was its primary use in its native country.
  • India is now the largest user and exporter of clay ovens.
  • The craftsmen who shape clay into utensils or bricks are called Kumhars.
  • Kumhars make clay ovens by hand or using a wheel and do not use machines.
  • The materials used to make a clay oven include special clay mixed with grass and animal hair.

Molding Instruction To make a Clay Oven

Step I: Collecting Clay

The first step is to collect the right type of clay. There are special suppliers for this clay in India. Any clay will not work; the kumhars who are traditional skilled craftsmen can easily identify this clay.

Step II: Kneading Clay

Next, you carefully remove all the small stones from the clay and mix some grass and animal hair into it, add water and knead the clay with your feet.

Step III: Rolling Clay

Once the clay is ready to use, create three slabs about 12” wide, 36” long, and 2” thick.

Step IV: Making Semi Circle of Clay

Roll the clay slab and unfold into a semicircle and finally make a complete cylinder. Make the base with the first cylinder and let it dry for a day. Next day, make one more cylinder and fix it on top of the first cylinder. Let the second cylinder dry for a day and then fix the third cylinder on top of the second, the next day. Spread three of these cylinders to form an oval egg-shaped clay oven.

Step V: Shaping the Mouth

This involves hand-twisting of the clay to shape it like the top of a jug. All these steps do not require any machine or a mold to shape the clay oven, and are done by skilled craftsmen.

Step VI: Drying the Clay Oven

Once the above pot is ready, it has to be left outside in the sun for a couple of days to dry up. This process will harden the clay oven, so that it can stand its own weight.

Step VII: Heating the Clay Oven

Next, very little fire is lit inside the clay oven with charcoal or wood and the clay oven is allowed to keep baking to harden its clay walls. This process of heating the walls is continued for a few days and, slowly, the heat is increased by adding a little more charcoal or wood. The baking continues until the walls of the clay oven harden and become solid like brick. This is the most important step in the process of making the clay oven, as this will determine how long the pot will last. Minor cracks will appear in the clay pot while baking it, but this is normal.

Step VIII: Final Step

The Clay Oven is now finished, but it is still not complete unless it is installed on the ground or a metal container.

Availability of Clay Oven

  1. The Clay Oven exported is of superior quality compared to the ones available locally, and it’s designed specifically for export purposes.
  2. The tandoor exported to the USA and Canada has distinct differences from the Clay Oven sold in the United Arab Emirates.
  3. Tandoor Morni provides customers with the option to choose from standard and custom-sized Clay Ovens. The standard sizes available range from a 10″ mouth to a 17″ mouth, with a diameter of 32″ and a maximum height of 37″.

Our Clay Oven comes with a distinctive packaging system that ensures secure delivery via sea or air. To purchase a clay oven, visit shop and place your order or explore our selection of clay ovens for sale. Follow us Instagram and Facebook to stay updated on our latest offers and connect with us on social media.

You May Also Like

Replacing the thermocouple in a Morni Tandoor oven

img

📺 INSTRUCTION Are you experiencing 😵‍💫 issues with your Tandoori Clay Oven's pilot light constantly turning off 💡 ? If so, you might need to replace the thermocouple. 👀 👀 👀 👀 👀 What is a thermocouple, you might ask? It's a safety device that senses the heat of the pilot light and signals the gas valve to release gas…

Easter turkey in a Tandoor oven
img

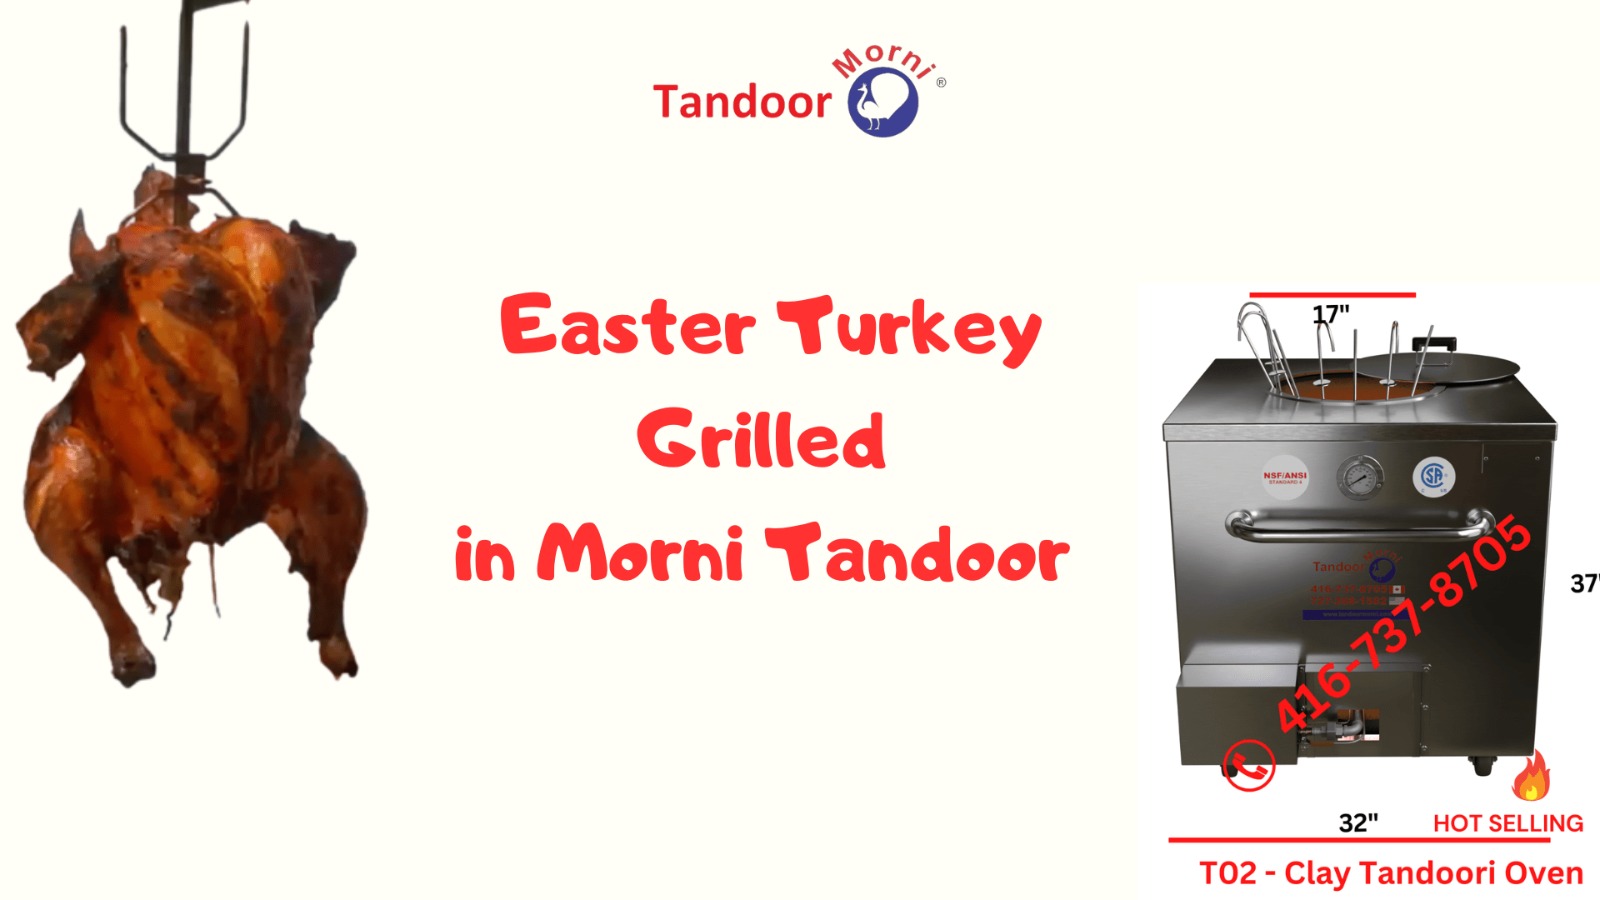
To make Easter turkey in a Morni Tandoor Oven T02, you will need: The sun rises on Easter morning, and the air is filled with the tantalizing aroma of roasting turkey. Families across the land eagerly await the arrival of the centerpiece of their Easter feast. But little do they know, some are about to…

Curing a Clay Pot For Tandoor : A Guide
img

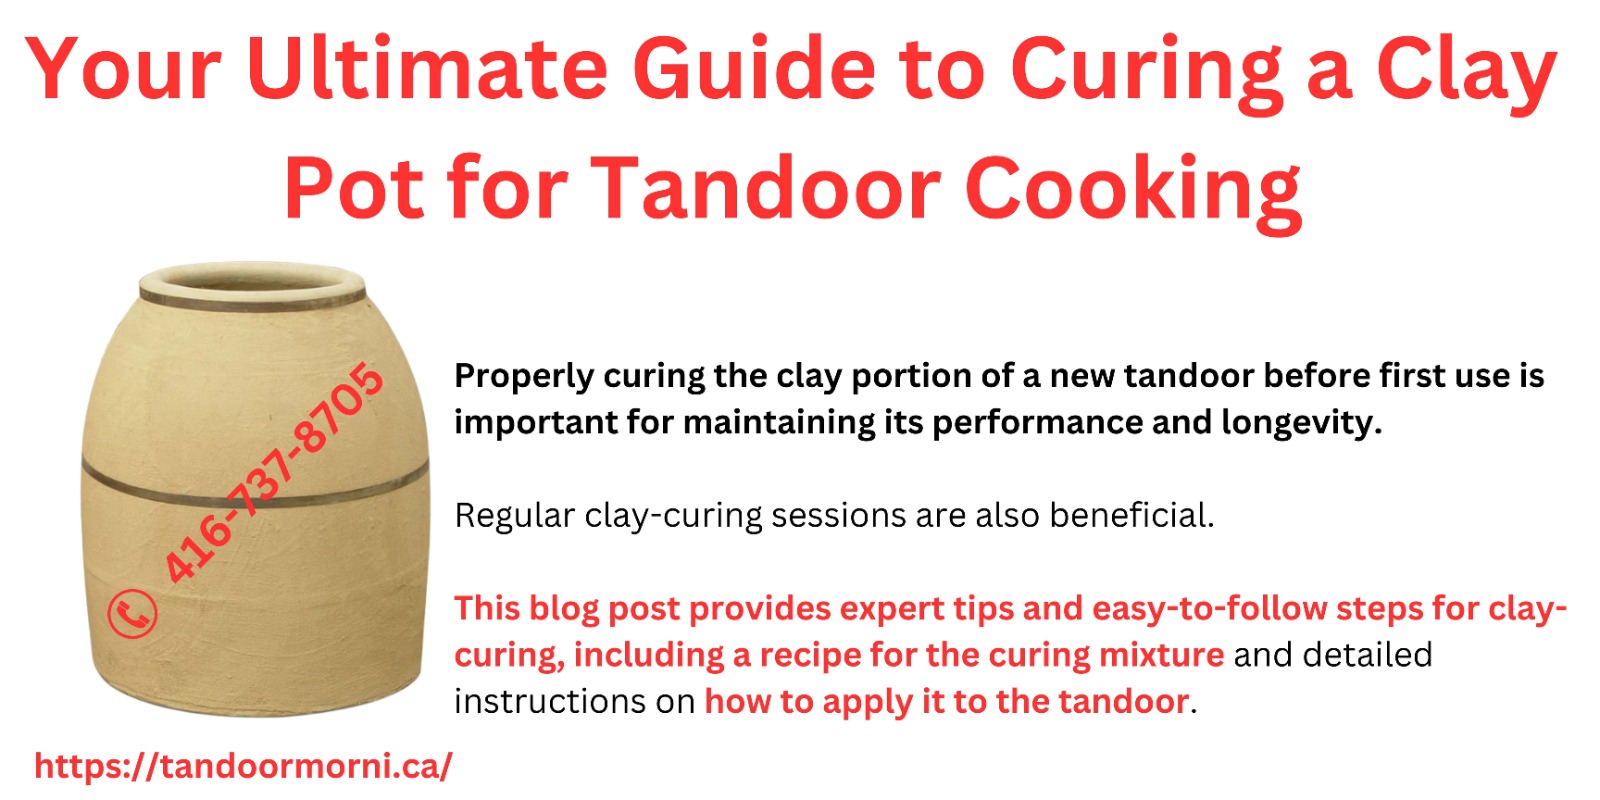
https://youtu.be/xY4bCW3hRsg Learn how to properly cure a new clay pot for optimal cooking results with these easy steps. Make the most out of your first time use with our expert tips! Extend the life of your tandoor by preparing its clay portion before first use. Maximize the performance of your tandoor with this essential clay-curing…